For many years, most people have considered rock climbing a group activity. However, this is not always the case, as you can still engage in this activity on your own. If you choose to do it alone without a belay partner, you will need a belaying device called self belay as an alternative to a belayer. Unlike earlier, when climbers took it as a stroke of ill luck not to have someone to be a belay slave, you can incorporate a fantastic device to help you climb without a belayer. But that requires you to know how to self belay well.
Ideally, belaying involves two individuals, where one individual climbs a mountain or a hill while his counterpart takes the rope slack. Typically, the second person or the belayer is always there to tackle the slack in case he falls off the mountain top. In this article, we shall discuss self-belay meaning, and self-belay methods, alongside other related ideas.
What is Self Belay, and How Does It Work?
By now, you have an idea of what is self-belaying. However, most climbers are curious to know what a self belay machine is and how it works. Well, this is the first innovative climbing connector of its kind that helps to ensure that the auto belay remains attached to the gate until the climber is clipped in properly.
Unlike other climbing connectors, this one boasts of a unique circular locking mechanism that is released for climbing only when the self-belay’s key has been inserted. With this technology in place, you can trust that the key can only be released when the harness piece has been locked in place and vice versa. This can be attributed to the fact that when one component gets engaged, the other one gets automatically disengaged.
In traditional belaying there should be a belay partner on the ground to take up slack as you scale. Self belaying replaced the helping human hand as it can take up the slack itself. It can catch the climber if he falls from the peak and lower the climber slowly, easily, and safely to the ground.
Two things are crucial while self belaying that include remembering you are on your own, counting on the proper functioning of the self belay and clipping to the anchor before unclipping from your harness when done.
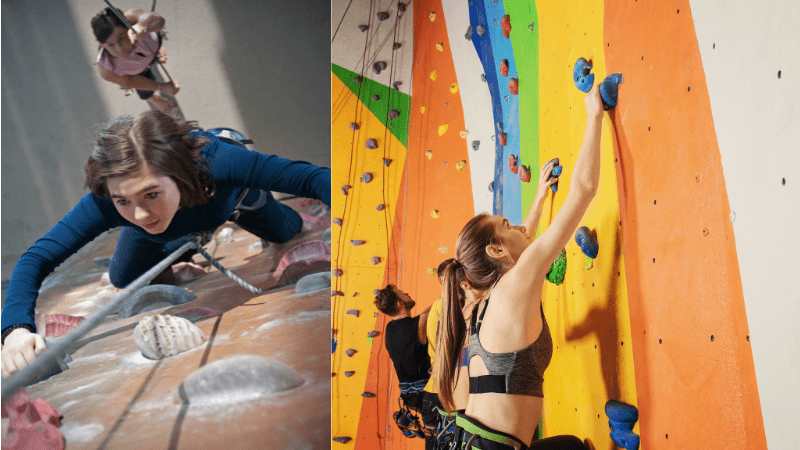
In fact, anyone can utilize the self belay at the rock climbing gym. This means that children, who are the age of 5 years or thereabout, can readily utilize this climbing connector on their own.
With this climbing connector in place, the climber will not clip at the wrong place of the harness. As a result, you will be able to clip in well, without supervision. This has made the self belay a revolutionary tool when climbing high places at the climbing gym or out there.
Sounds tempting and pretty simple? Don’t be intrigued as you need to learn well to belay on your own well.
Why To Self Belay: Benefits of self-belaying
Using a self belay offers an avalanche of benefits. Some of the noticeable benefits include:
-
No Clipping Errors
Since this climbing connector comes with a patent-awarded design, be sure that clipping errors will be a thing of the past. Consequently, the climber will not experience any accident at the climbing gym or rock climbing.
-
Can Easily be Used by Kids
Besides adults, children can also utilize this climbing connector and be able to scale different climbing surfaces with utmost precision. Thankfully, it does not require them to use all their energy in order to reach the top. This makes the device a vital tool in mountaineering or rock climbing.
-
No Rope Twisting or Webbing
It is imperative to note that the Self Belay can actually rotate at 360 degrees. This characteristic goes a long way in eradicating webbing or rope twisting. As a result, the climber will have an enjoyable experience whenever he or she is climbing. In fact, this feature reduces accidents by a large margin.
-
No Need for Supervision
Since the Self Belay plays a critical role in reducing clipping errors, there is no need for many staff at the climbing gym to supervise climbers as they scale different surfaces. Compared to the simple carabineers, this climbing connector has proved to be a lifesaver for many climbing gyms as they can now significantly cut costs.
-
Easy to Clip and Un-clip
Besides the benefits mentioned above, the self belay has become fundamental at the climbing gyms as it is easy to clip and unclip. Therefore, you do not have to panic even when you have kids at the climbing gym.
As you can clip and unclip via its circular locking mechanism, it has provided the climbers with peace of mind whenever they have to climb alongside their kids.
How to Self Belay: 5 Crucial Steps
Since you already know the finer details about self belay benefits, you will be eager to get started with the self belay machine. To reap the much-needed benefits of this device, you need to know how to use it. Whether engaging in self belay indoor climbing or self-belay mountaineering, be sure that you can get started easily as long as you follow the following crucial steps.
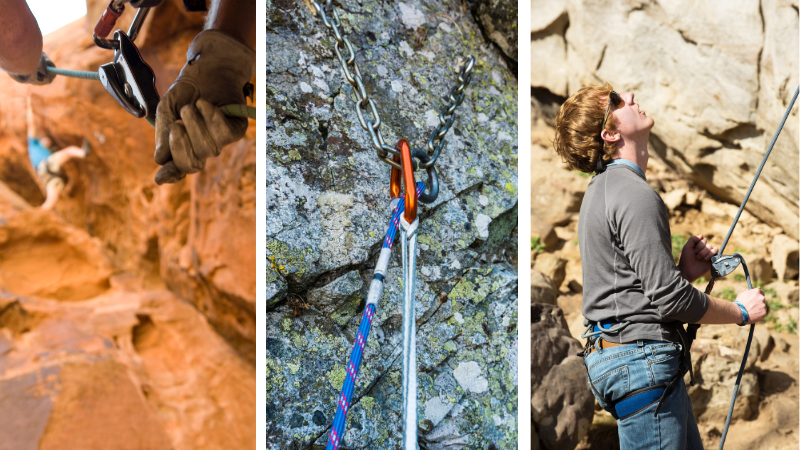
Step-I: Anchoring the Rope
During self belaying process, the first step is to anchor the rope below the cliff’s edge. This way, the self belay top rope will not rub against the edges. For optimal results, you should consider using a rope whose thickness is 10mm or even more. You can even consider using a dynamic rope as a backup rope so that you can have an easy time maneuvering.
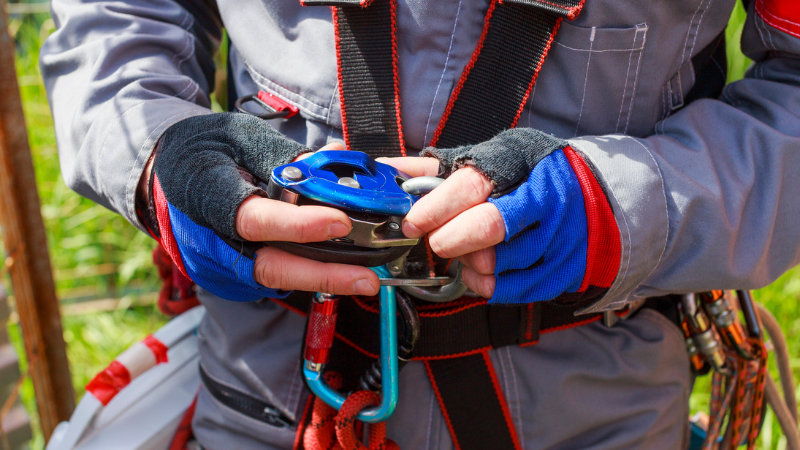
Step-II: Install the Self Belay
Once you are anchoring the rope, the next step is installing or setting up the self-belay device. Although you can utilize different devices to get started, consider using Petzl Microcender or Petzl Mini Traxion. After that, you should follow the instructions that you will find in the manual that comes with any of these devices.
More importantly, attach both devices to the rope and lock them well using cams. Remember that the top one will act as your primary belay. Ideally, it should be connected to the best harness with slings to remain stable for longer.
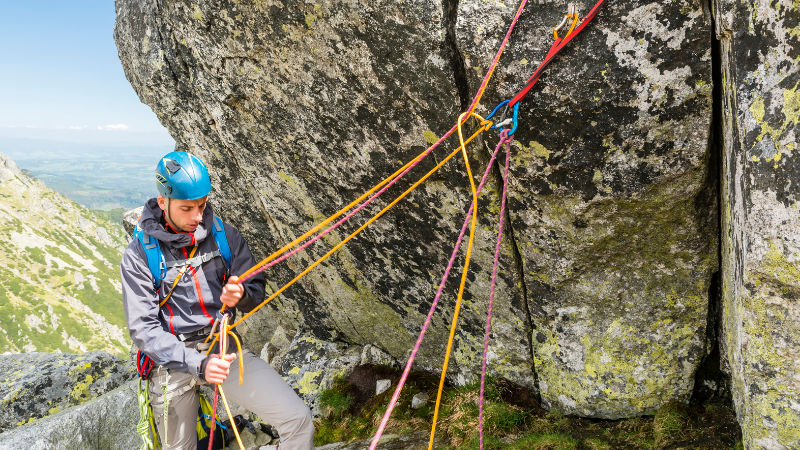
Step-III: Pre-climbing Check
With anchoring and setting up done flawlessly, you are ready to climb. But before you start climbing, carrying out a pre-climbing check is a must be on the safe side. Here, you should first ensure that everything has been locked well. Besides this, you should determine which routes to climb, and one used in the past should be your first. Once you ensure everything is okay, consider installing your harnesses and rig on the ground.
Step-IV: Start Climbing
During this stage, you should test both devices to establish that they lock well under weight. To put this into perspective, you can perform a bounce test on the system first at the base section. Here, you will be ensuring that both devices don’t interfere with each other whatsoever.
If, by any chance the bottom devices collide with the top device, consider extending the top device using a quick draw. For optimal results, utilize locking carabineers on each end of the draw. As you do this, ensure that your chest harness is comfy and keeps the top device well positioned on the upper side of the rope.
You might need to push the devices along at the very beginning as you start climbing. However, these two devices should slide up nicely as you scale your climbing surface. In case you have clipped protection points along your route, always unclip the rope from those points first before you can climb above those points.
Step-V: Get Rid of the System
On your arrial at the climb top, you can now get rid of the self-belay system. Here, you will unclip from the self belay machine so that you can descend the climbing surface. If you don’t get rid of the self belay machine, you can hardly move, have got yourself in trouble, or are about to mess up.
At reaching the climb top, cling to the anchor using personal tethers and slings. Take better care that you do not climb that high to stumble down on the anchor, as doing so may worsen the situation and create difficulty in unweighting the connected devices to get rid of the system. Appropriately anchored means you are secured, and this is the time to detach both the devices from the static rope that is just now unweighted.
General Rules for Solo Climbing with Fixed belay Rope
When using a fixed belay rope for solo climbing, there is a particular set of rules that you must follow. These include:
- Since the single belay system might fail, always ensure that you have a secondary system at hand. Ideally, the secondary system will almost be redundant but act as a backup to the primary system.
- Reduce instances of the two devices coming into contact. This means that the primary system should remain not interfered with whatsoever.
- The secondary system would be difficult to install and use. The easier it is to use, the better the climbing experience.
- Ensure that you practice enough at the climbing gym before getting started. This is because you might experience accidents if you are not used to this rock climbing technique. More importantly, acquaint yourself with the various self belay methods so that you can be good to go.
- Avoid edges as the rope might end up running over sharp edges. This might further compromise its structural integrity.
- Always opt for a straight route all the time. By doing so, you will be able to reduce the number of times the rope might end up getting in your way during the climbing sessions.
Precautions to Take and Risk Analysis To be Done
The self-belay device on a fixed rope is a risky process as per many. So, it is imperative to analyze the risks involved beforehand and take precautions to avoid accidents and unwanted consequences.
To start with, your self belay device has to be installed correctly on the rope. Thereafter, it has to be connected by the upper attachment hole so that it passes the rope via the carabineers.
Many climbers use it; serious accidents are always bound to happen. In fact, several accidents have been reported in the recent past.
To put this into perspective, one is likely to experience an accident if one uses the device with the open cam. In addition, the cam can accidentally open whenever the climber ascends a hill or a mountain. To avoid accidents, the belay device has to be paired with an ascender of a different calibre.
Whenever you are approaching the anchor, always keep alert as access from above poses a risk of falling even before you install the rope.
Always beware of rock fall, whether the rope is moving or you want to access the route from above.
Ensure that you choose a solid anchor on two triangulated points. More importantly, always allow your installation to suit your site. And never let the rope rub against protrusions or sharp edges. You might need to acquire a rope protector to maximize your rope’s structural integrity.
You risk hitting the ground as most climbing ropes tend to be elastic. In most cases, the static elongation of the rope is usually 10%. Therefore, if your route measures 70 meters, you stand a chance of falling on the ground during the first 7 meters.
Final Words
With a self belay machine, you will not need a partner or supervisor whenever you want to climb a mountain or a hill. Even in the climbing gym, you can readily scale up an elevated surface alone with utmost precision. More importantly, ensure that you observe all the rules and take the abovementioned precautions. These will ensure secured self-belaying and may not cause the functioning to fail as this guide has broken self-belaying process into bits – 5 easy-to-follow steps. So, solo rock climbing or mountaineering is more enjoyable and less risky than ever before.